Image Gallery
Creating an Image Gallery
The image gallery presents images in a slideshow-like sequence in an overlay, without sending users to other pages. When users click on one image, it expands full-screen and users can click through or use a keyboard to navigate through the rest of the gallery images. This gallery is fully-responsive, which means that the images will scale up or down gracefully and swipe navigation will be available when viewed on mobile devices.
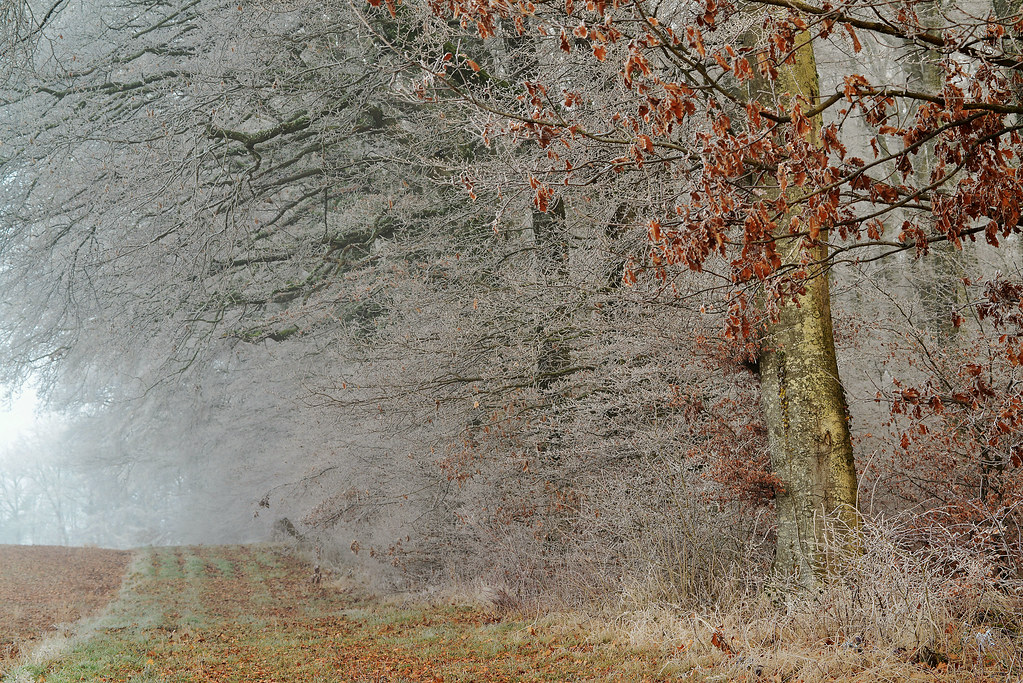
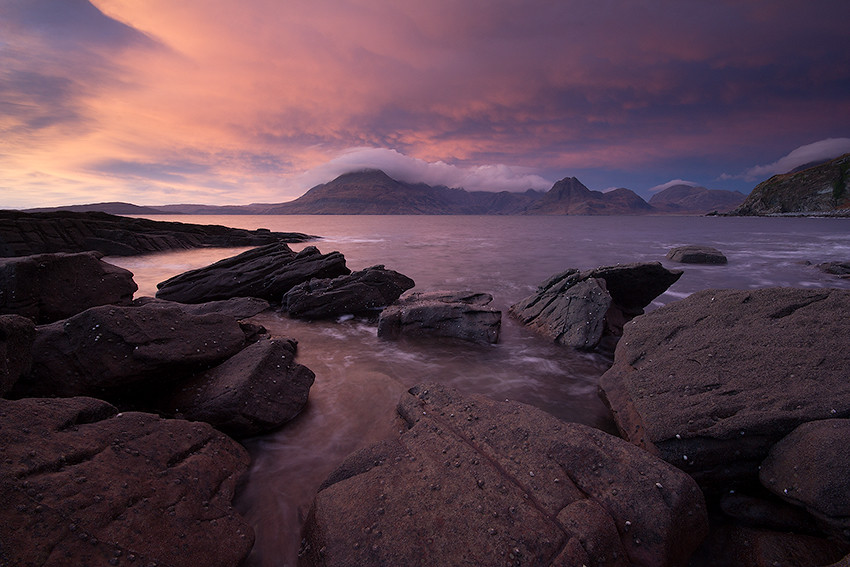
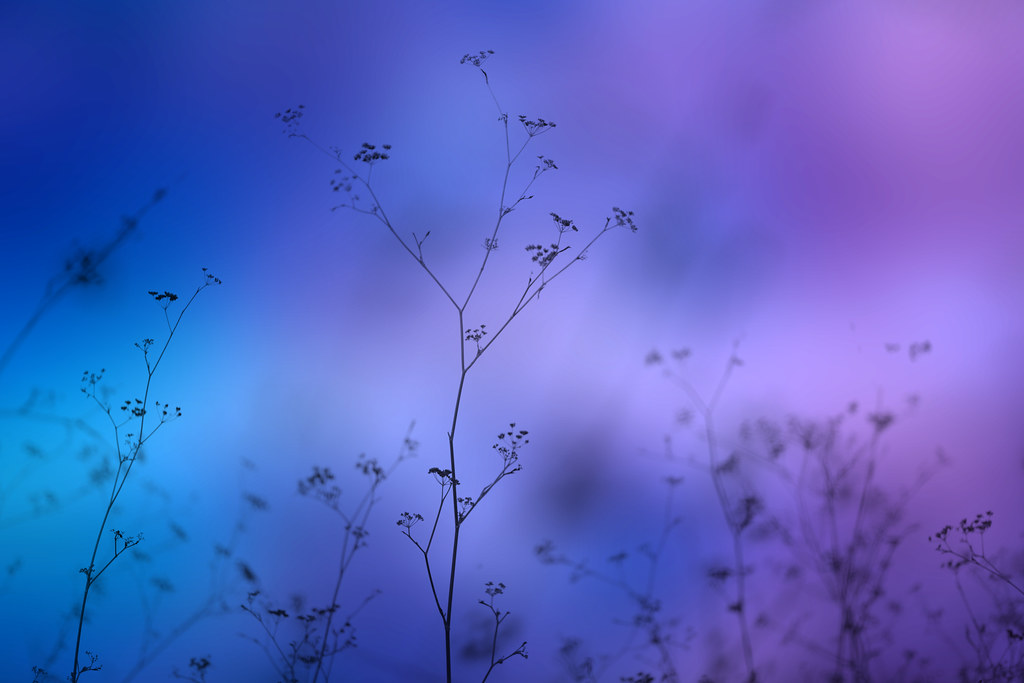
Gallery 1. An example of 3 thumbnails in one row
Gallery 2. An example of 2 thumbnails in two rows, 2 columns
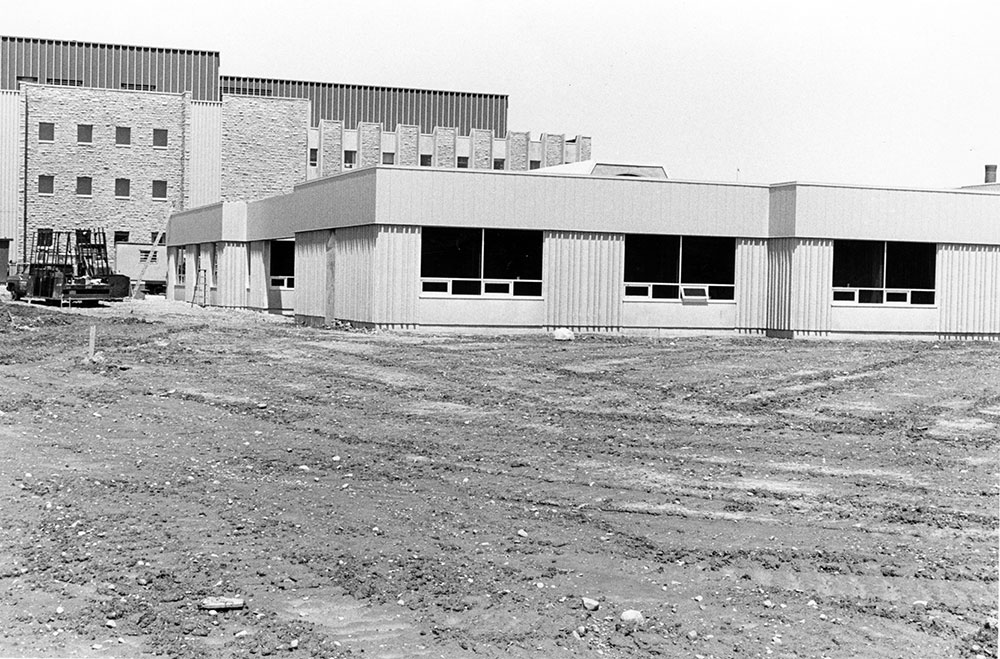
3. Image Gallery - Carousel. An image gallery embedded on a page
To create an Image Gallery in Examples 1 and 2
- In /_cms/blocks/xhtml/ of your website, create a new block, gallery-css.
You might find it easier to copy any of the existing blocks.
- In the html mode of the newly-created block, paste the following code:
<link href="https://www.uwo.ca/web_standards/css/blueimp-gallery.css" rel="stylesheet" />
Submit the changes. - In the page where you'd like to create the gallery, go to Edit > Outputs. In the list of regions, locate Extra Head Code.
In the block line, link to the gallery-css. Submit the changes. - Create thumbnails of the images that you'd like to place on the landing page. Upload them to Cascade.Upload full-sized images that you'd like to use in the gallery.
A good rule is to keep the same name convention for both small and large images with -s.jpg and -l.jpg at the end to differentiate them. For example, sunset-s.jpg and sunset-l.jpg
- In the HTML view window of the page, Copy and paste the gallery setup code:
<!-- The Gallery setup. Don't change anything below this point-->


<!--#passthrough


<div id="blueimp-gallery" class="blueimp-gallery blueimp-gallery-controls">


    <div class="slides"></div>


    <h3 class="title"></h3>


    <a class="prev">‹</a>


    <a class="next">›</a>


    <a class="closeclose">×</a>


    <a class="play-pause"></a>


    <ol class="indicator"></ol>


</div>


#passthrough-->


<!-- The Gallery. Don't change anything above this point-->
- In the HTML view window of the page, copy and paste the gallery code under the code from step 5:
<h3 style="color: #06f;">Gallery 1. An example of 3 images in one row</h3>


<!-- Gallery #1 setup starts -->


<div class="links" id="links">


<!--add first image with caption -->


<a href="http://farm9.staticflickr.com/8665/15613375844_99dc1e5dc0_b.jpg" title="Banana is a great source of potassium. The yellower the banana is, the better for you!">


<!--add first thumbnail -->


<img alt="image one" src="https://farm1.static.flickr.com/387/19071027264_92aaa2a2d2_s.jpg" /></a>


<!--add second image with caption -->


<a href="http://farm8.staticflickr.com/7501/15812584301_1d63602c58_b.jpg" title="Apples are bruised easily">


<!-- second thumbnail -->


<img alt="imshr" src="https://farm1.static.flickr.com/257/19502744658_4020ac67d1_s.jpg" /></a>


<!-- third image with caption --> <a href="http://farm6.staticflickr.com/5584/15276294205_5a7ffe793c_b.jpg" title="Oranges contain as much vitamin C as three pills"> <!-- third thumbnail -->


<img alt="Orange" src="https://farm1.static.flickr.com/538/19060161194_89d7b1dfb3_s.jpg" /></a>


</div>


<!-- Gallery #1 setup ends -->
- Replace the original images with you own and add captions in the title placeholders where needed.
- In the HTML view window of the page, add the following gallery declaration script, below the code from Step 6:
<script src="https://www.uwo.ca/web_standards/js/blueimp-gallery.min.js" type="text/javascript"></script>


<script type="text/javascript">


document.getElementById('links').onclick = function (event) {


    event = event || window.event;


    var target = event.target || event.srcElement,


        link = target.src ? target.parentNode : target,


        options = {index: link, event: event},


        links = this.getElementsByTagName('a');


    blueimp.Gallery(links, options);


};


</script>
To create an Image Carousel
- In /_cms/blocks/xhtml/ of your website, create a new block, gallery-css.
You might find it easier to copy any of the existing blocks.
- In the html mode of the newly-created block, paste the following code:
<link href="https://www.uwo.ca/web_standards/css/blueimp-gallery.css" rel="stylesheet" />
Submit the changes. - In the page where you'd like to create the carousel, go to Edit > Outputs. In the list of regions, locate Extra Head Code.
In the block line, link to the gallery-css. Submit the changes. - Upload full-sized images that you'd like to use in the carousel.
- In the HTML view window of the page, Copy and paste the gallery setup code:
				<!-- The Carousel setup. Don't change anything below this point-->


<!--#passthrough


<div class="blueimp-gallery blueimp-gallery-carousel blueimp-gallery-controls" id="blueimp-gallery-carousel">


<div class="slides"></div>


<h3 class="title"> </h3>


<a class="prev">‹</a> <a class="next">›</a> <a class="play-pause"></a></div>


#passthrough-->


<!-- The Carousel. Don't change anything above this point-->
- In the HTML view window of the page, setup the image links and their titles. Replace the original images with you own and add captions in the title placeholders where needed.
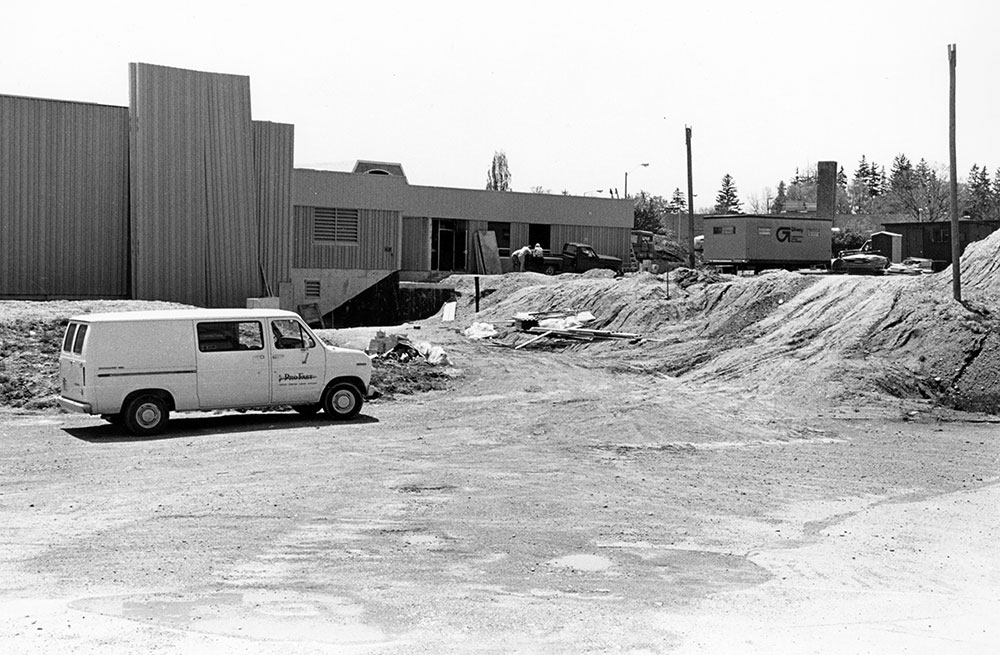
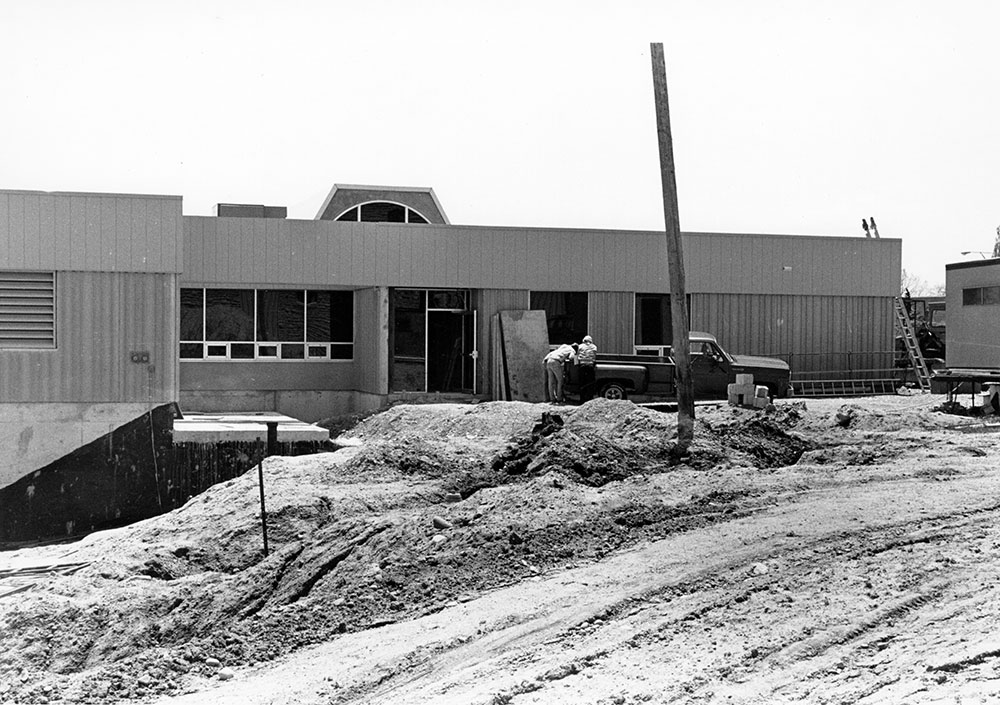
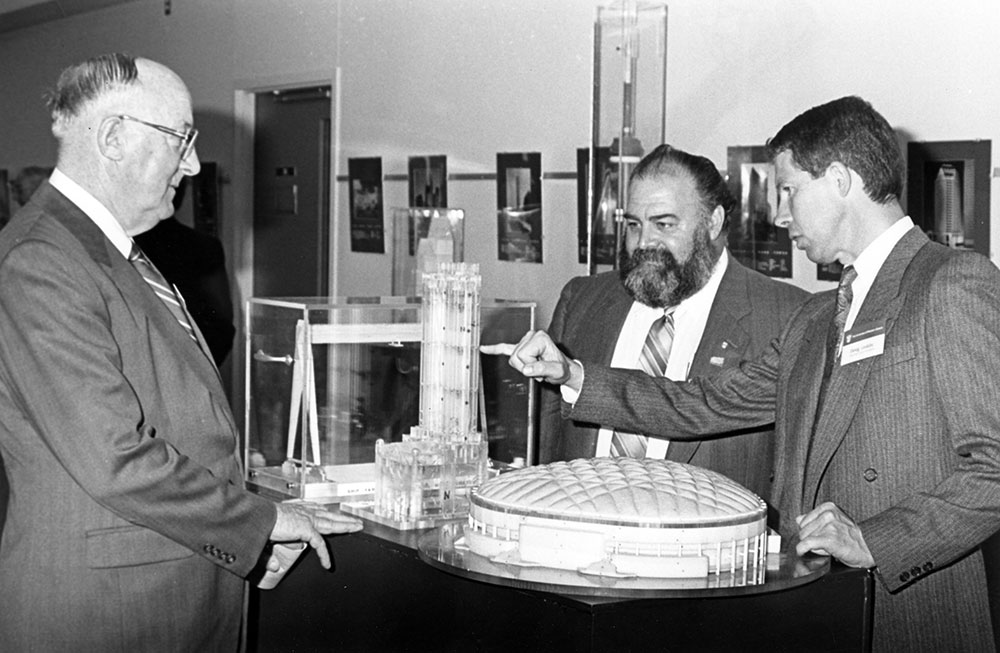
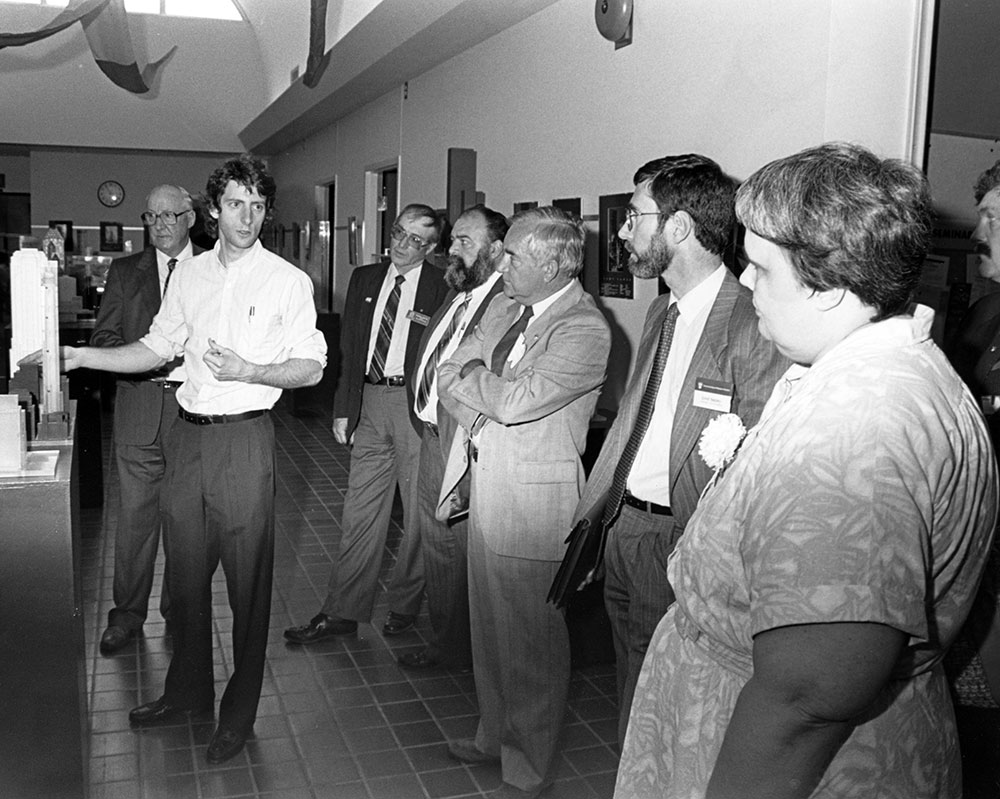
<div class="links" id="links"><br/> <a href="https://www.uwo.ca/projects/heritage/heritage4/history/construction.jpg" title="Wind Tunnel Construction, June 1983"></a> <a href="https://www.uwo.ca/projects/heritage/heritage4/history/construction2.jpg" title="Wind Tunnel Construction. June 1983"></a> <a href="https://www.uwo.ca/projects/heritage/heritage4/history/construction3.jpg" title="Wind Tunnel Construction, June 1983"></a> <a href="https://www.uwo.ca/projects/heritage/heritage4/history/councils.jpg" title="Councils Day, June 1987"></a> <a href="https://www.uwo.ca/projects/heritage/heritage4/history/councils2.jpg" title="Councils Day, June 1987"></a> <a href="https://www.uwo.ca/projects/heritage/heritage4/history/dalrymple2.jpg" title="Wind Tunnel. Brian Dalrymple with the Model of Tsing-Ma-Bridge, May 8, 1997."></a></div>


<!-- Carousel setup ends -->
- In the HTML view window of the page, add the following gallery declaration script, below the code from Step 6:
<script src="https://www.uwo.ca/web_standards/js/blueimp-gallery.min.js" type="text/javascript"></script>
<script type="text/javascript">


document.getElementById('links').onclick = function (event) {


 event = event || window.event;


 var target = event.target || event.srcElement,


 link = target.src ? target.parentNode : target,


 options = {index: link, event: event},


 links = this.getElementsByTagName('a');


 blueimp.Gallery(links, options);


};


</script>


<script type="text/javascript">


blueimp.Gallery(


 document.getElementById('links').getElementsByTagName('a'),


 {


 container: '#blueimp-gallery-carousel',


 carousel: true


 }


);


// </script>
To create several galleries on one page
-
- For the second gallery, copy and paste the code in Step 6 and change the id to "links2" (or 3, 4, 5, etc.)
<div class="links" id="


						links2">
- Add a second declaration by copying the script in Step 8 and changing the call from links to links2:
- For the second gallery, copy and paste the code in Step 6 and change the id to "links2" (or 3, 4, 5, etc.)
<script src="https://www.uwo.ca/web_standards/js/blueimp-gallery.min.js" type="text/javascript"></script>


<script type="text/javascript">


document.getElementById('links').onclick = function (event) {


    event = event || window.event;


    var target = event.target || event.srcElement,


        link = target.src ? target.parentNode : target,


        options = {index: link, event: event},


        links = this.getElementsByTagName('a');


    blueimp.Gallery(links, options);


};


</script>


<script type="text/javascript">


document.getElementById('


		links').onclick = function (event) {


    event = event || window.event;


    var target = event.target || event.srcElement,


        link = target.src ? target.parentNode : target,


        options = {index: link, event: event},


        links = this.getElementsByTagName('a');


    blueimp.Gallery(links, options);


};


		</script> <script type="text/javascript">
document.getElementById(' links2').onclick = function (event) {
    event = event || window.event;
    var target = event.target || event.srcElement,
        link = target.src ? target.parentNode : target,
        options = {index: link, event: event},
        links = this.getElementsByTagName('a');
    blueimp.Gallery(links, options);
};
</script>
Make one image open a slideshow
There may be cases when you'd like to have one in-page image open a gallery / slideshow of images.
To accomplish this:
- List all slideshow images BEFORE the in-page image, including their location and captions
<div class="links" id="links">


 <a href="http://farm9.staticflickr.com/8665/15613375844_99dc1e5dc0_b.jpg" title="Banana">


<img alt="something gloomy" data-description="This is a banana." src="http://farm8.staticflickr.com/7501/15812584301_1d63602c58_m.jpg" title="Banana" /> </a>


 <a href="http://farm6.staticflickr.com/5584/15276294205_5a7ffe793c_b.jpg" title="Orange"> </a>


</div>